


Dec 05, 2014
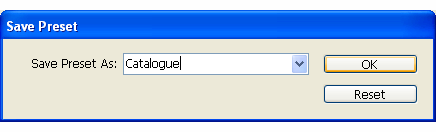
The next time you print something directly from Adobe InDesign, take an extra moment to save your setting choices as a “Print Preset.” After you select your printer and choose the appropriate settings, click the “Save Preset” button located in the bottom left corner of the Print dialogue box. Now you can type in a new name for your preset e.g. “Catalogue.” Click OK and you now have a print setting that you can use as a start point for the next time you print a layout with the same needs.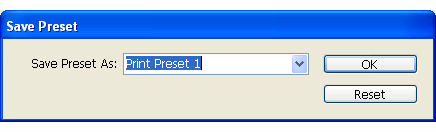
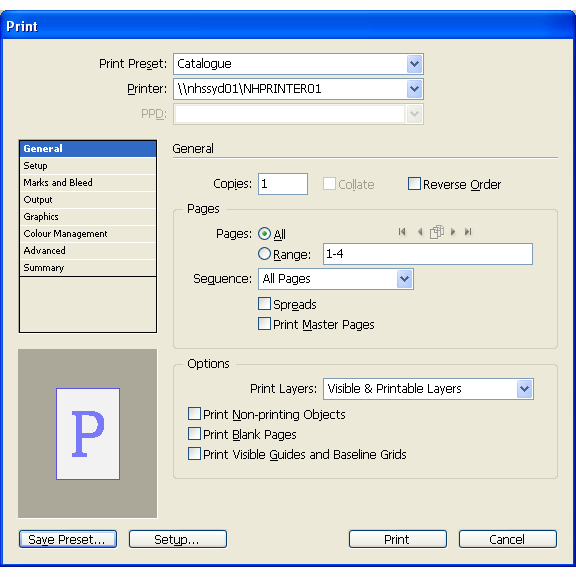
 Existing print presets are available for selection from the top drop down menu in the print dialogue box.
 To edit, save out of InDesign, load into InDesign, delete and also create additional new print presets, you can access the print presets dialogue box by going to the File tab, selecting Print Presets and clicking on ‘Define.’
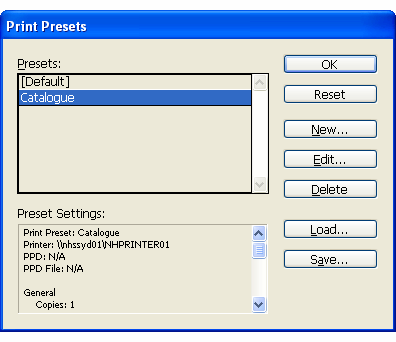 This dialogue allows you and your colleagues to update and share presets once you have determined the best settings to implement given your printing objectives.
Till next time, happy printing in InDesign.
This dialogue allows you and your colleagues to update and share presets once you have determined the best settings to implement given your printing objectives.
Till next time, happy printing in InDesign.
How do your Excel skills stack up?
Test NowRelated Articles


About the Author:
Katherine Davis

With over 15 years of experience, Kate is one of New Horizons most knowledgeable and skilled Desktop Applications and Graphic Design trainers. She approaches each training event with an understanding of the student’s perspective and with their learning goals in mind. Her extensive knowledge and dynamic training style enables her to engage users of all varying skills levels and ensure that each student’s learning goals are achieved. Kate is especially well known around the New Horizons office for her creative flair and talent in using the Adobe suite. She takes a genuine satisfaction from helping students solve issues and always makes an extra effort to ensure that students have an enjoyable learning experience.
Read full bio


Next up:
- Normalising your database: First Normal Form (1NF) – Part 1
- Change the Spell Check Language on all slides in PowerPoint using VBA (2007 onwards)
- Fruitcakes and lines in the sand
- The changing face of the Office 365 plans
- Two ways to put a sticky note on your desktop
- Excel formulas are not just for numbers
- Our interpersonal rights and responsibilities in the workplace
- Implementing external content types in SharePoint 2013
- Happy Holidays from New Horizons!
- Use the Eyedropper tool in PowerPoint 2013
Previously
- Here’s how situational leaders spend more time watching sunsets than watching their people
- Using the ‘Flash Fill’ feature to apply the desired formatting in Excel 2013
- ‘CONNECT ANY DATABASE’ in SQL Server 2014
- Scheduling Rostered Days Off (RDO) in Project 2013
- Apply permissions on web parts in SharePoint
- Fabulous, fitting feedback
- Comparing and combining two lists using VLOOKUPs
- The Windows Server 2012 R2 Desktop Experience
- Removing the background from a picture in Microsoft Office
- Deliver successful organisational transformation
