


Sep 28, 2016
More and more people are starting to use Azure as a platform for their applications, these applications might want to get information from files. If this is a requirement we will have to set up storage in Azure and then upload the needed documents into our Azure environment, luckily this can be done easily by creating a PowerShell script. When you are creating a PowerShell script you have the capabilities of saving the script and rerunning it in the future, this makes the process of uploading the files easier as you could simply schedule the script to run.
Within this blog I will create a script that will handle uploading files to an already existing storage container. When you need to upload files into Azure you will first have to make sure the Storage container is in existence, otherwise you will have to create it first.
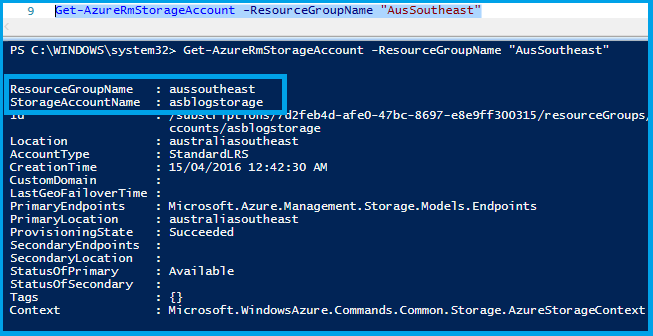
In my scenario I have already created a storage account and a container to be used, please note that I have used the Resource manager deployment model as this should be used for all new applications on Azure.
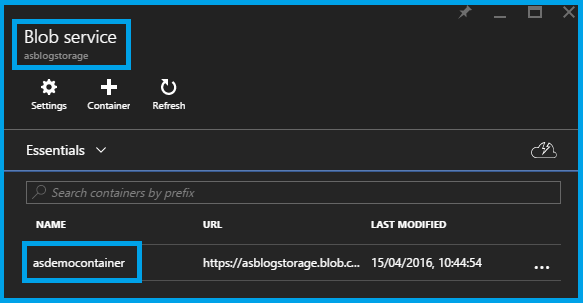
Here you can see I have a storage account called “asblogstorage” and I have a container called “asdemocontainer”, these are important to remember as we will need to refer to them in script.
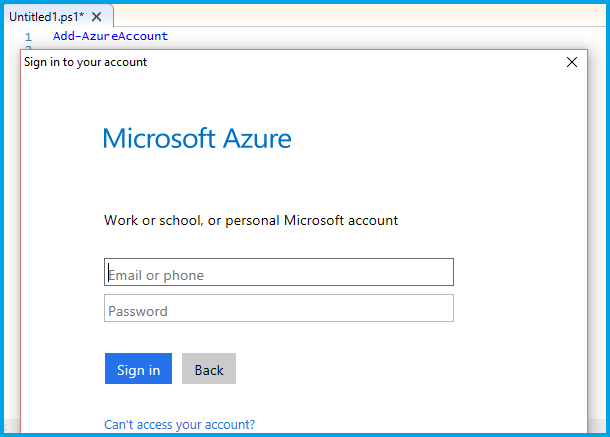
Once you have the storage of interest we can go ahead and start with the script. Within the script I will start by specifying what login I want to use and I will achieve this goal by using the “Add-AzureAccount” this will give me a prompt to specify what credentials I want to use.
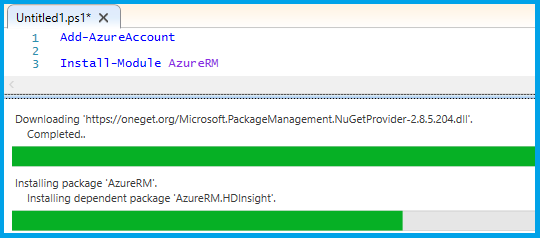
If you haven’t already you should also install the “AzureRM” module so that you can fire of command against your Resource Manager model that we specified when creating the storage account.
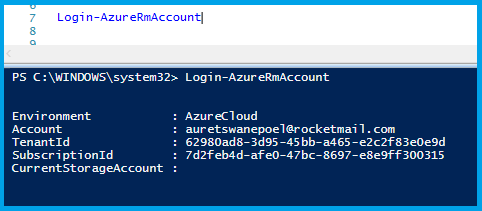
Additionally you might want to import the “AzureRM.profile” as well to make sure you can run the login command. (Not shown here) Once you have the modules in place you have to run the “Login-AzureRmAccount” command.
Once you are logged in you have to get a hold of the storage account key that you want to use, this be the account that houses the container where you want to upload the files.
We will need the following values to successfully retrieve the correct storage account key:
- The storage account name (Mine is called “asblogstorage”)
- The resource group under which it was created (Mine is called “AusSouteast”)
The command to get this key value is the “Get-AzureRmStorageAccountKey”, and it will take the previously mentioned values to select the proper account access key. Key note to remember here is that any storage account in Azure will have two Access keys generated and for us to upload to the container of our liking we will just need one of them (Note the “.Key1” at the end).
We will also populate a variable with the value of the key as we will be needing it later in the script. I called my variable ($storageAccountkey)
Once we have the key stored in a variable we need to create a storagecontext, this will be used so we can get the list of storage containers within the previously retrieved account. This context will provide us with the name and the access key to the storage account in which the container is found.

After we have the context we can then loop through all the files of interest in our local folder and upload it into the container. To do this we will create an array containing all the files in a specified folder, then we will loop through this array and upload each item individually into the container. To upload a file you can use the “Set-AzureStorageBlobContent” command, this command will expect the following input arguments:
- File, this will be the local full path location of the file
- Container, this will be the container name of where to upload the files to
- Blob, this will be the relative path of where it will be uploaded to
- Context, this will be the Storage account name and key to be used in the uploading process
- (Optional) Force, indicates whether to overwrite existing blobs without confirmation

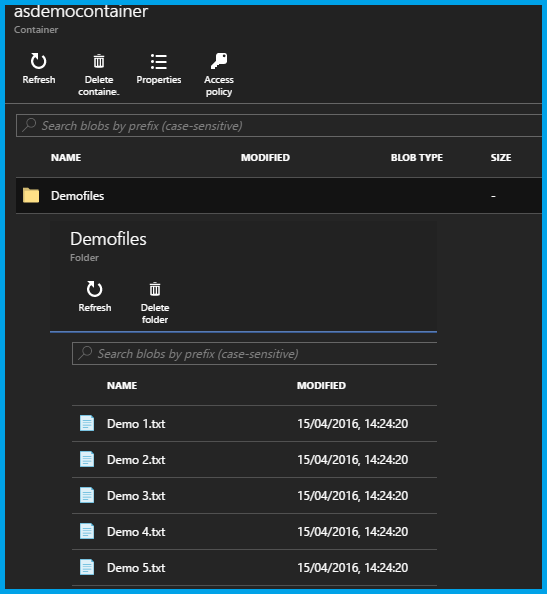
Now all you have to do in the future is add more files to this location and then run the script to upload it to the same container. Your final result will look like this:
How do your Excel skills stack up?
Test NowRelated Articles


About the Author:
Auret Swanepoel

As a recent addition to the New Horizons team, Auret is a highly skilled and qualified IT Technical trainer. He has been a Microsoft Certified Trainer (MCT) since 2008 and has since then, also become a Microsoft Certified Professional (MCP), a Microsoft Certified Technology Specialist (MCTS) and a Microsoft Certified Information Technology Professional (MCITP). With his international experience as a trainer in South Africa, Auret is able to adapt his teaching style to different audiences in the classroom and ensure that students are learning in a positive and collaborative environment.
Read full bio


Next up:
- Semantic Tags and the File API in HTML5
- Put your Photoshop skills into practice
- The importance of acknowledgement
- Decisions made easily with Excel
- Frame fun in InDesign
- How to be positive and enthusiastic at work after a long weekend!
- Nintex: Submit a form to a different page
- An introduction to PRINCE2® Agile
- Why we all need Emotional Intelligence
- “How was the training?”…“Yeah good thanks, now what’s for lunch?”
Previously
- Semantic Tags and the File API in HTML5
- Lightroom vs. Photoshop’s Camera Raw
- The importance of a break-even point in budgeting
- How-to: Put SharePoint calendars into Outlook
- Unleash creativity in the workplace
- How to get the most out of Outlook
- Tools and methods for identifying learning and development needs
- Create cascaded dropdowns in Nintex forms
- Story-Telling leads to Story-Selling: From Content to Insights to Revenue (Infographic)
- Convert imagination into art with Adobe Capture
