

Feb 22, 2016
Here are two useful options to work with transparency of images in PowerPoint 2013.
1. How to make an image’s background transparent
This is useful when you want to use an image, but you don’t want the coloured background that comes as part of that particular image. Firstly, insert the picture that has a single coloured background on a slide.
Click Insert – Pictures – choose the picture you want and click on Insert.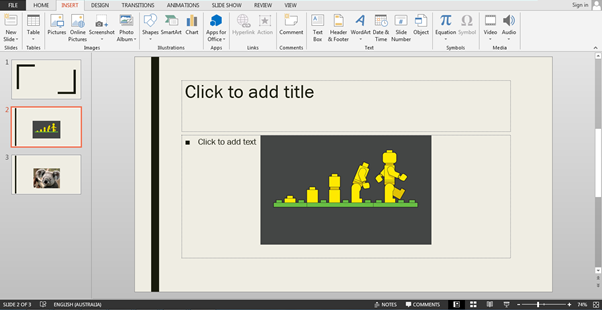
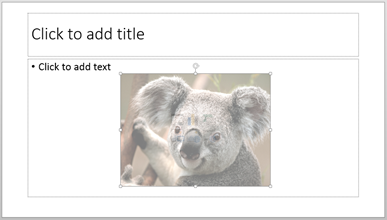
Notice that this image has a dark grey background, making it obvious that it is only a small image on the larger slide. Click on the image and click on the Picture tools Format tab then click on Colour in the Adjust group.
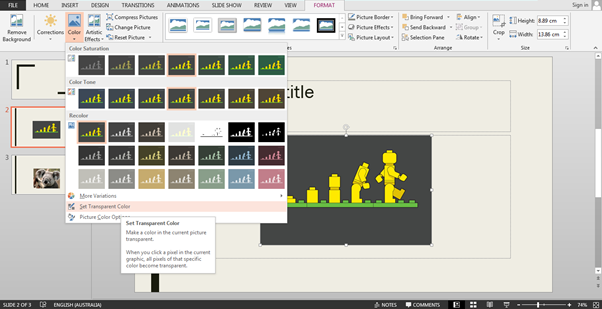
Then select Set Transparent Color and then click on the background of the inserted image.
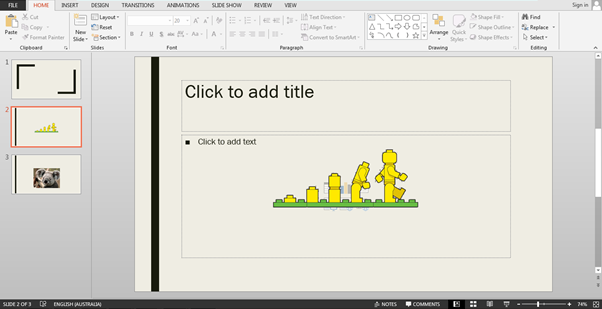
And now the image has a transparent background, giving a more ascetically pleasing look to the slide.
2. How to make an image semitransparent
In PowerPoint you can’t make an image object semitransparent directly. (If you try, you end up making the background of the object semitransparent, but the image itself sits on top of the background and covers it.) You can make the background of the slide itself semitransparent but then you are left with an image that covers the entire slide. Here’s how to make an image semitransparent: insert a graphic rectangle with the same dimensions as the image and then change the Fill option of the rectangle to make the picture to be the background of the graphic rectangle. You can then make this background image semitransparent. Insert the image you want and then right click on it and choose Size and Position.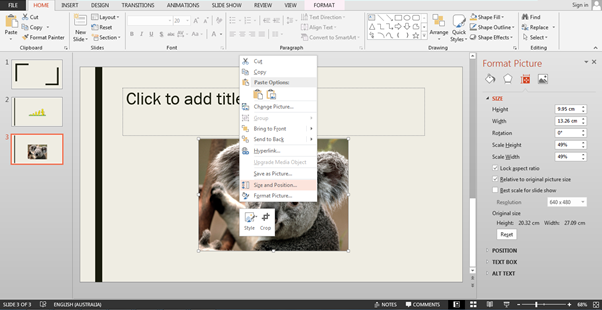
Now we can see that this picture is 9.95 x 13.26 cm. Cut (or copy) the picture to place it on the clipboard (Ctrl X or Ctrl C) and delete the picture if you chose Copy. Now, go to the Insert tab and insert a graphic rectangle using the shapes button.
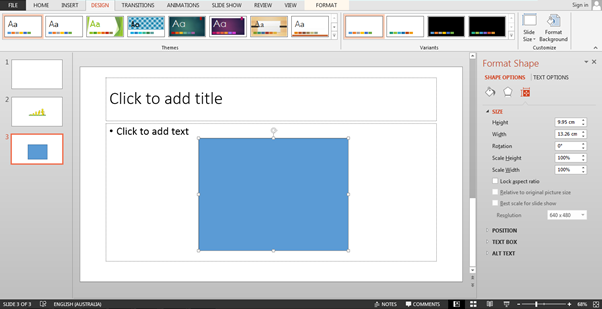
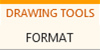
Then right click on the rectangle, choose Size and Position, and adjust the rectangle to be the same as the picture from earlier. Note: The picture we inserted first had a purple contextual tab – Picture Tools Format. The rectangle we have now has an orange tab – Drawing Tools Format. When we add the picture we’ve copied to the rectangle it will have both a purple and an orange tab.

Right click on the on the rectangle and choose Format Shape…
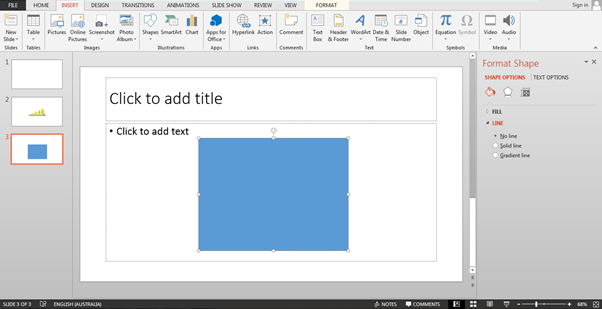
In the side pane on the right hand side change the rectangle’s line option to No Line to make the outside line of the rectangle invisible.
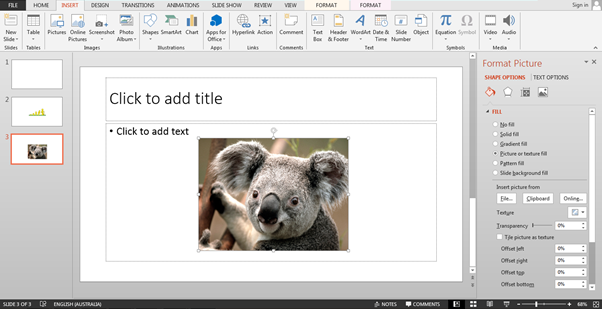
Now expand the Fill option and choose Picture or texture fill then click on the Clipboard button below to put in the picture we cut/copied earlier. Finally drag the Transparency slider to make your picture semitransparent.
How do your Excel skills stack up?
Test NowRelated Articles


About the Author:
Matthew Goodall

Matthew is a qualified Microsoft Office Specialist, Microsoft Certified Applications Specialist and a Microsoft Certified Trainer with over 11 years of hands-on experience in a training facilitation role. He is one of New Horizons most dynamic instructors who consistently receives high feedback scores from students. Matt enjoys helping students achieve real professional and personal growth through the courses he delivers. He is best known for creating “fans” of students, who regularly request him as an instructor for any future courses they undertake at New Horizons.
Read full bio


Next up:
- Configuring Lync Room System
- Rugby in the workplace
- InDesign – Data Import Feature
- Streaming Xbox One to Windows 10
- 3 Simple Pie Chart Tricks
- Tips and Tricks with Nintex Forms
- The Agreement Frame: Solving Complex Arguments
- How-To Series: Photoshop CC Intelligent Upsampling
- My thoughts on the Moto 360 SmartWatch
- Skype for Business Server Architecture
Previously
- PowerShell Profiles – Have it Your Way
- Get a Better View – Through Office Lens
- The problem with accepting constructive feedback
- Adding videos to your website
- The magic of scrollbar control in Excel
- Service Design in ITIL®
- Slugging it out, and the need to bleed
- Remember Me? In one way I hope not!
- Configuring an internet facing deployment for Microsoft CRM Server
- Custom number formats in Excel
